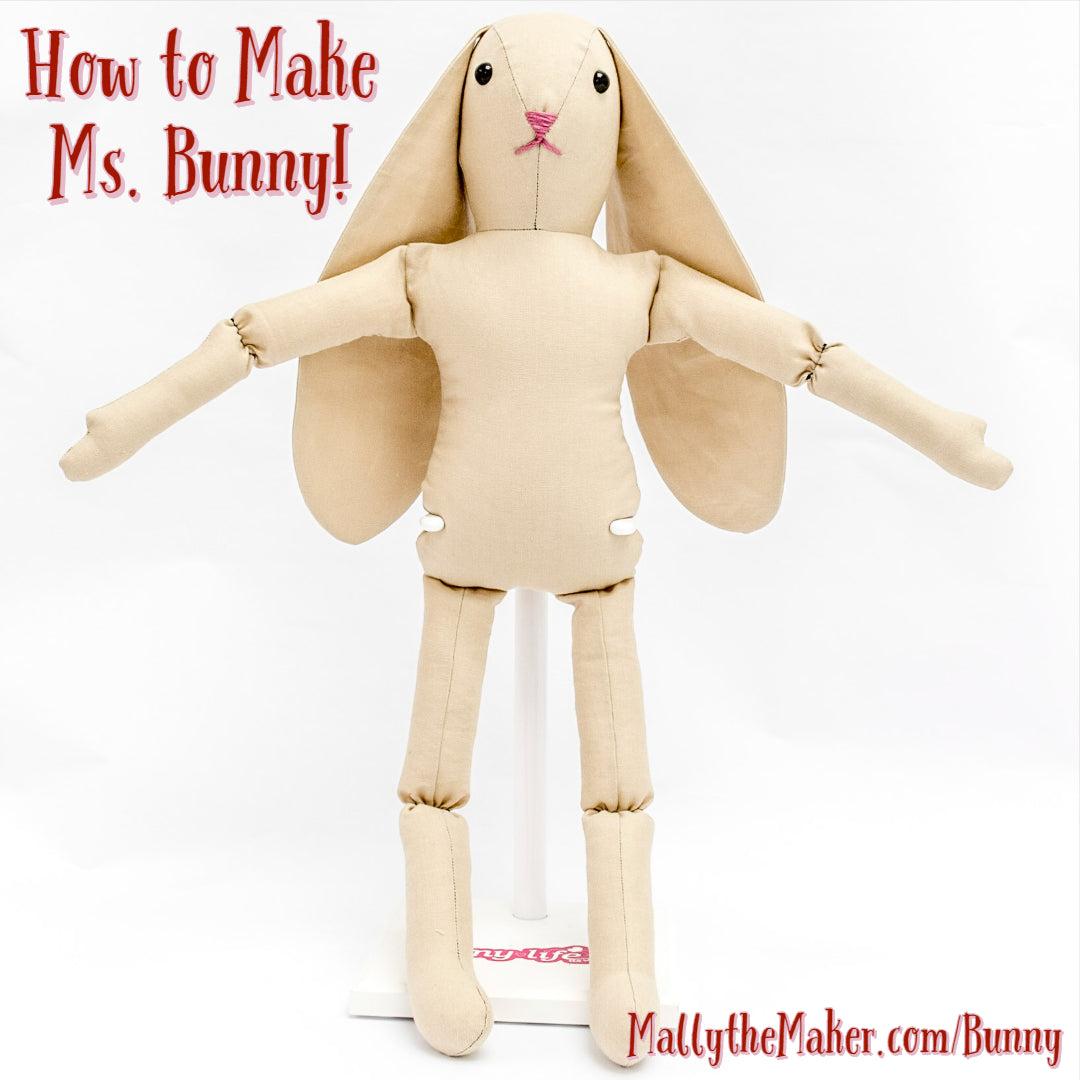
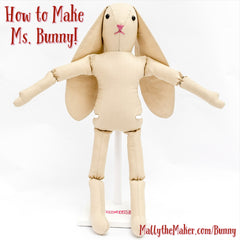
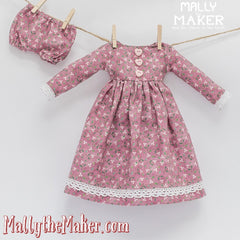
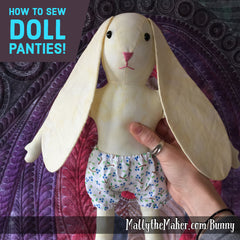
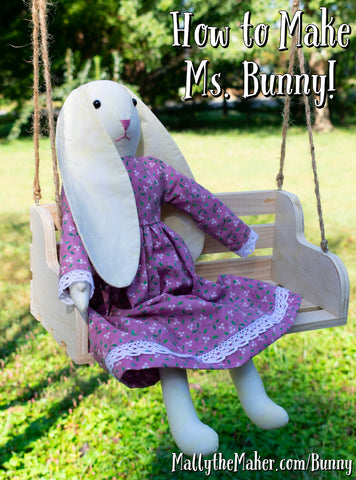
It's time to make Ms. Bunny! This doll is lots of fun to create and will be a terrific skill builder for basic sewing techniques like sewing with a 1/4-inch seam allowance, sewing darts, and stuffing. Learn how to make a beautiful rabbit doll in this tutorial:
Quick links to the pattern and supplies for Ms. Bunny:
Find all of the sewing tutorials for Ms. Bunny using the links below:
The first step to creating your Ms. Bunny doll is to cut out the pattern and arrange the pieces on your fabric. Make sure to check page 1 of the pattern for help arranging your pieces so you cut out the correct number of each shape.
Next, I like to sew all of the limbs just to get them out of the way so the rest of the doll goes really quickly. I stitched the ears, arms, and legs, trimmed up the seam allowance, and turned the shapes right side out.
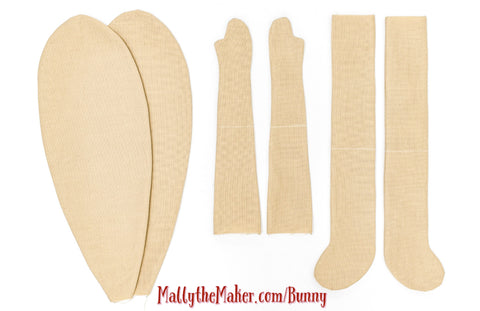
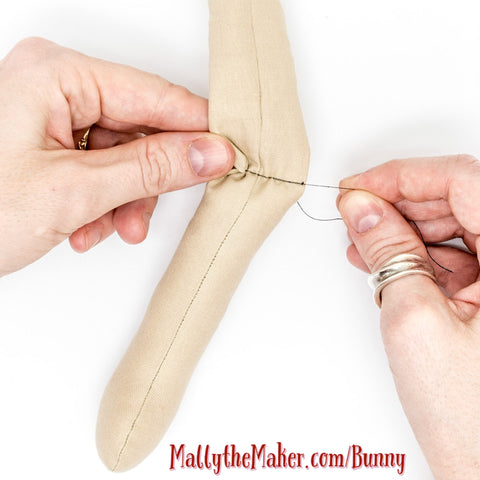
The arms and legs require a bit of extra effort because I like to partially stuff these shapes before stitching them to Ms. Bunny's body. Check out the video to see how to stuff the lower section of the arms and legs just right, then do a cinch stitch to lock the stuffing in place and create nice bendy elbows and knees.
Once that step is done, it's time to work on the head. Use as many pins as you like to fit the Center Head piece to the Side Head piece. The most important thing is to stitch from the dot on the nose around to the back of the head.
There's a Hole in Ms. Bunny's Nose!
In the video my nose finished with a small hole on the tip. I figured out what happened as I edited the video. I was starting exactly on the dot and pulling up my thread in the right place, but then I wasn't dropping my needle back down exactly into that dot.
Instead I began stitching, which took one stitch further up the fabric. Yes, two stitches off was enough to create a small hole in the nose section!
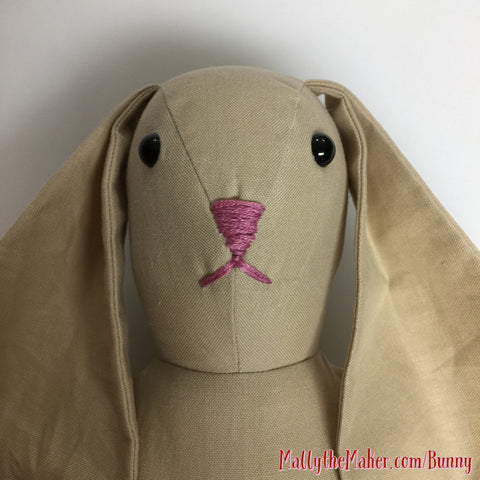
No worries though - I managed to cover that hole up just fine when I stitched over the area with embroidery thread to create Ms. Bunny's nose and mouth.
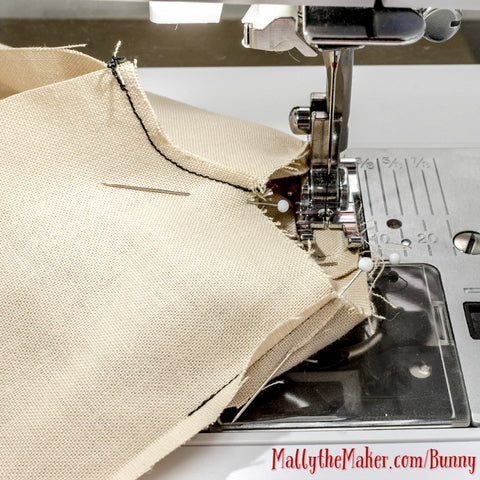
Once the head is together, the hardest seam in the project is next - the neck seam. It's not challenging in a fitting sense. It's challenging because the circular seam you're stitching is almost as long as your patchwork foot!
The key here is to just take a few stitches at a time. I think it will also help to baste this seam too if you find it's really challenging to hold onto the fabrics and keep them in nice alignment.
Whew! With that seam stitched, there's only one more to go! I pinned all the arms and legs in place, double and triple checking the legs were pointing the right way, then flipped down the back piece and stitched around the body.
A quick trim of the seam allowances and it's time to pull Ms. Bunny right side out and give her a good stuff. I like to stuff the head and butt very firmly, but leave the shoulders a bit soft so her arms are more positionable.
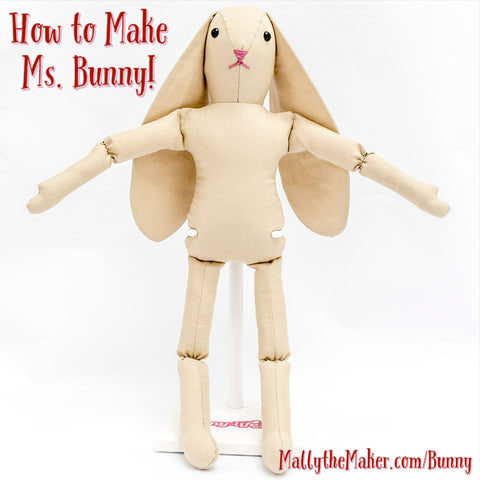
I also like to leave the upper arm and upper legs sections a bit softer too. This is 100% personal preference so experiment a bit and see what you like best.
Yes, please make more than one Ms. Bunny doll! Handmade dolls make terrific gifts and with practice this could be something to sell at your local art and craft boutique.
The Ms. Bunny sewing pattern comes with instructions and full sized templates for Ms. Bunny and her basic dress and panties.
Let's go sew,
Leah Day
Find more sewing tutorials to help you make your Ms. Bunny doll and dress her too!
