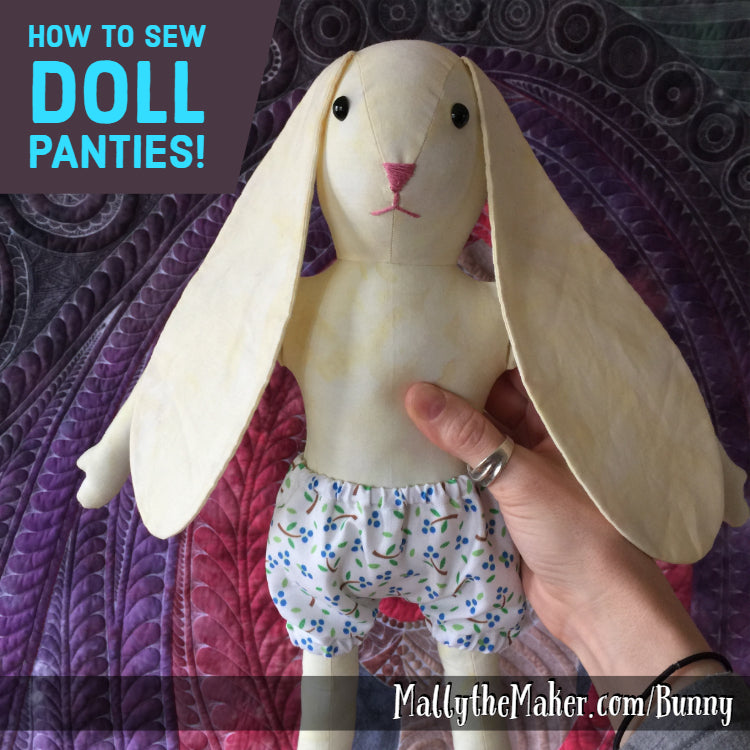
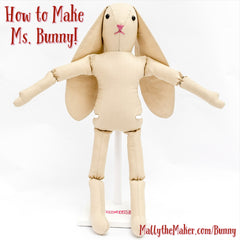
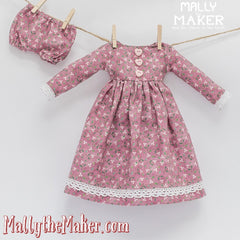
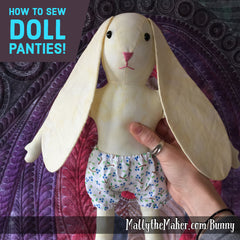
Ms. Bunny is all dressed up and ready for a party, but wait... where is her underwear!? LOL! Learn how to sew a simple pair of doll panties in this new sewing tutorial:
Quick links to the pattern and supplies for Ms. Bunny:
Find all of the sewing tutorials for Ms. Bunny using the links below:
The first step to sewing this doll's panties is to cut out the pattern and arrange the pieces on your fabric. Make sure to check page 1 of the pattern for help arranging your pieces so you cut out the correct number of each shape.
Step 1 - Sewing the crotch seam
The first step is to sew the front and back of the panties together along the curving crotch seam. This is a 1/4-inch seam allowance, but I just used my normal zigzag foot and moved the needle over to the right to stitch all of these seams.
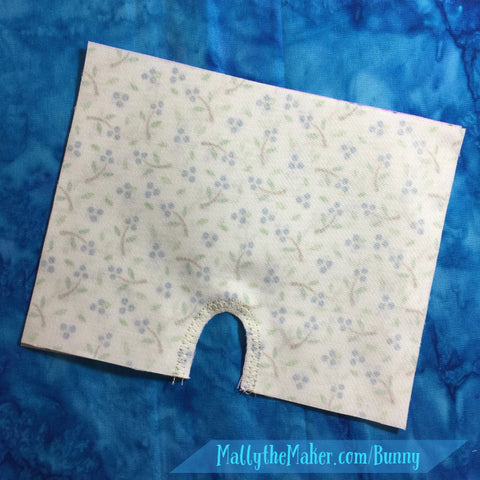
After sewing, finish the seam after desired with a zigzag, overlock, or serged finish. I used a zigzag stitch that was 2.5 mm wide and 1.5 mm long and stitched as close to the straight stitching as I could.
Once the edge was finished, I trimmed off the extra fabric extending beyond the zigzag stitch to minimize fraying.
Step 2 - Create the Elastic Casing
Open up the legs and press the bottom edge of the fabric up 1/4-inch, then up 1/4-inch again to fully encase the raw edges. Stitch along that upper fold to create a little tube or casing along the bottom edge of the leg.
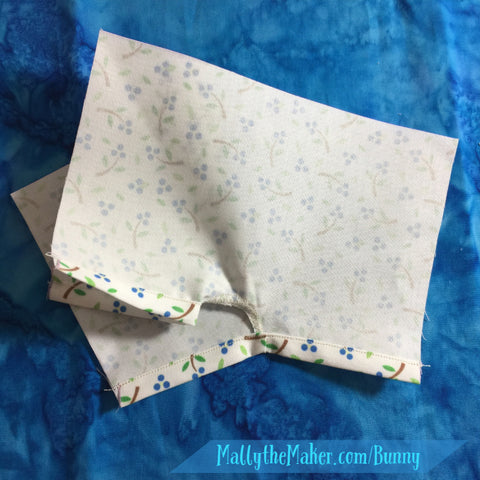
Repeat this step on the opposite leg.
Step 3 - Threading the Elastic
Now measure a 3 1/2-inch length of 1/4-inch wide elastic and mark it, but don't cut it. It's much easier to thread the elastic through the casing as a long length.
Use a tapestry needle, thread the elastic and send it through the tube on the bottom of the leg. If you need to, grab a pair of pliers to hang onto the needle while you pull the elastic through the fabric.
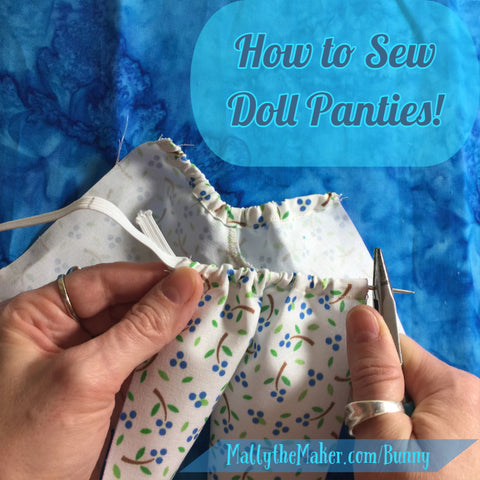
Once you get the elastic through, shimmy it around until the end of the elastic is lined up with one end of the leg. Stitch securely into place, then backstitch a few times to be sure the elastic doesn't pull free.
Now pull the fabric of the leg over the elastic until the opposite end lines up with the mark you made. Stitch and backstitch this side to secure it nicely.
Trim off the end of the elastic and shift the fabric to even out the gathers. Repeat this step with the opposite leg.
Step 4 - Sew ONE Side Seam
With the right sides together, the panties back and front together along one side seam. Finish that seam as desired.
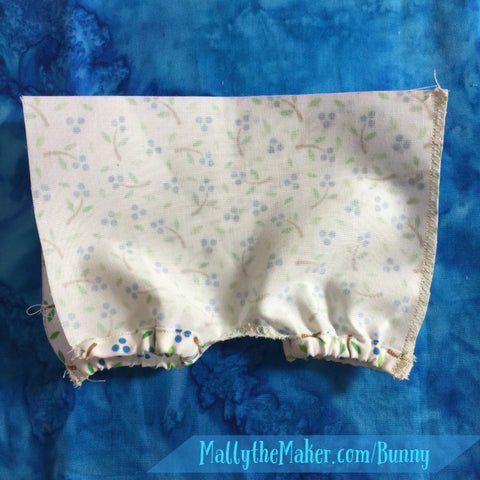
Step 5 - Create the Waistband Elastic Casing
Now we're going to do the exact same step for the waistband that we did for the legs. Fold over the top edge of the panties 1/4-inch. Then fold over again 1/4-inch to fully encase the raw edge. Stitch along that fold to create a little tube / casing along the top edge of the garment.
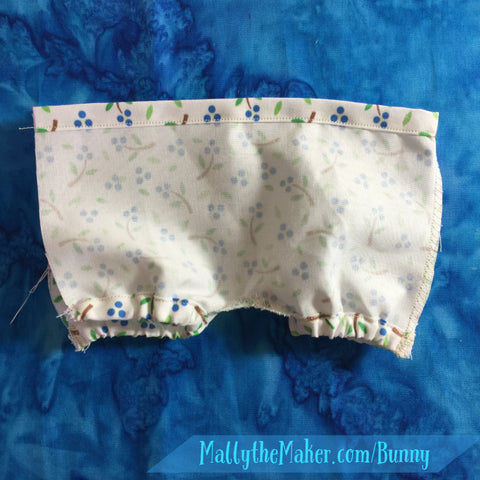
Measure 8 1/2-inches on the elastic, but don't cut it. Thread it through the waistband casing and use pliers to help you grip the needle inside the garment to pull it through.
Once you pull the elastic end through the garment, line up the end with the edge of the garment. Stitch and backstitch to secure the elastic in place.
Shift the fabric over until the opposite side of the panties line up with the mark on the elastic. Stitch and backstitch to secure, then trim the excess elastic away.
Step 6 - Stitch the Last Side Seam
The last step is quick and easy! Arrange the last side of the panties right sides together. Stitch the seam and finish the edges as desired.
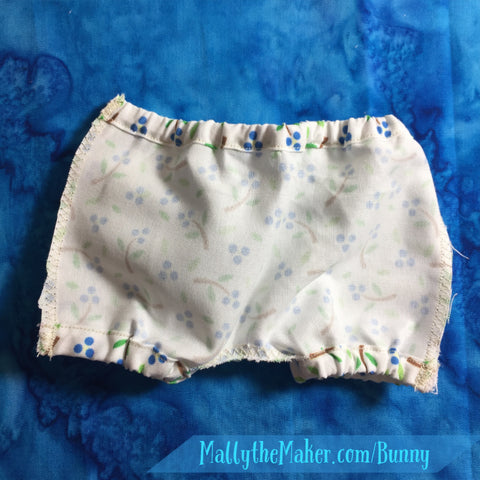
Turn Ms. Bunny's panties right sides out and give them a little tug to even out the elastic. Now get some underwear on that naked Bunny! LOL!
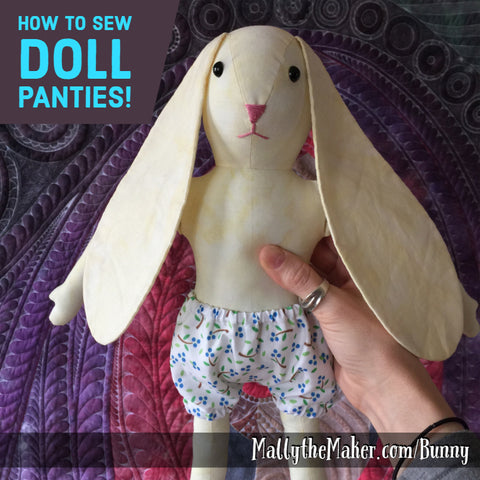
Please Share Your Ms. Bunny Dolls
I can't wait see what you make with the Ms. Bunny Sewing Pattern. Please contact me and send me a photo of the dolls you create. Here's a recent doll sent to me from Raynelle D:
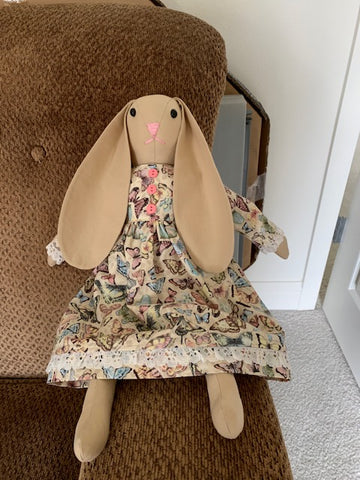
Yes, please make many Ms. Bunny dolls and dresses! Handmade dolls make terrific gifts and with practice this could be something to sell at your local art and craft boutique.
The Ms. Bunny sewing pattern comes with instructions and full sized templates for Ms. Bunny and her basic dress and panties.
Let's go sew,
Leah Day
Find more sewing tutorials to help you make your Ms. Bunny doll and dress her too!

